Scanner for Students
Hi!
This is the instruction on how to use the scanner for the students.
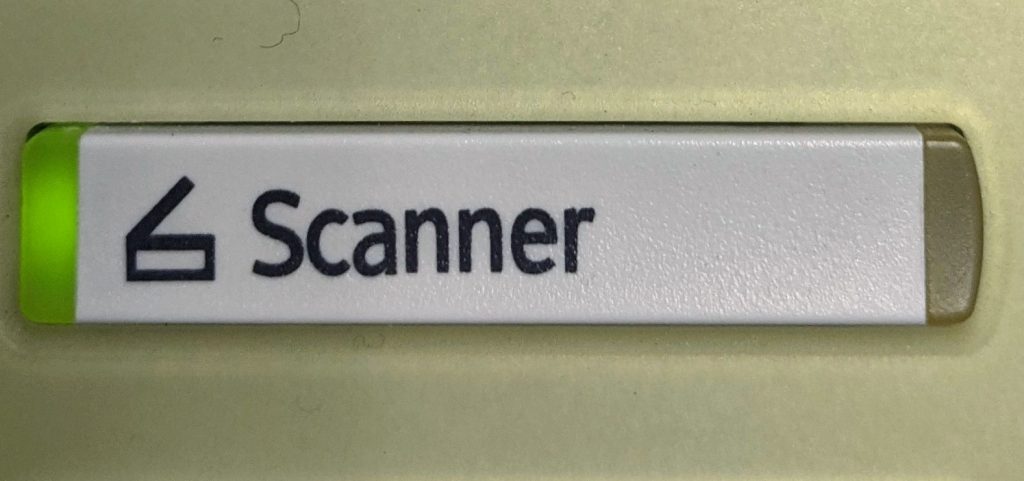
Step 1:
Select Scanner on the left hand side of the printer.
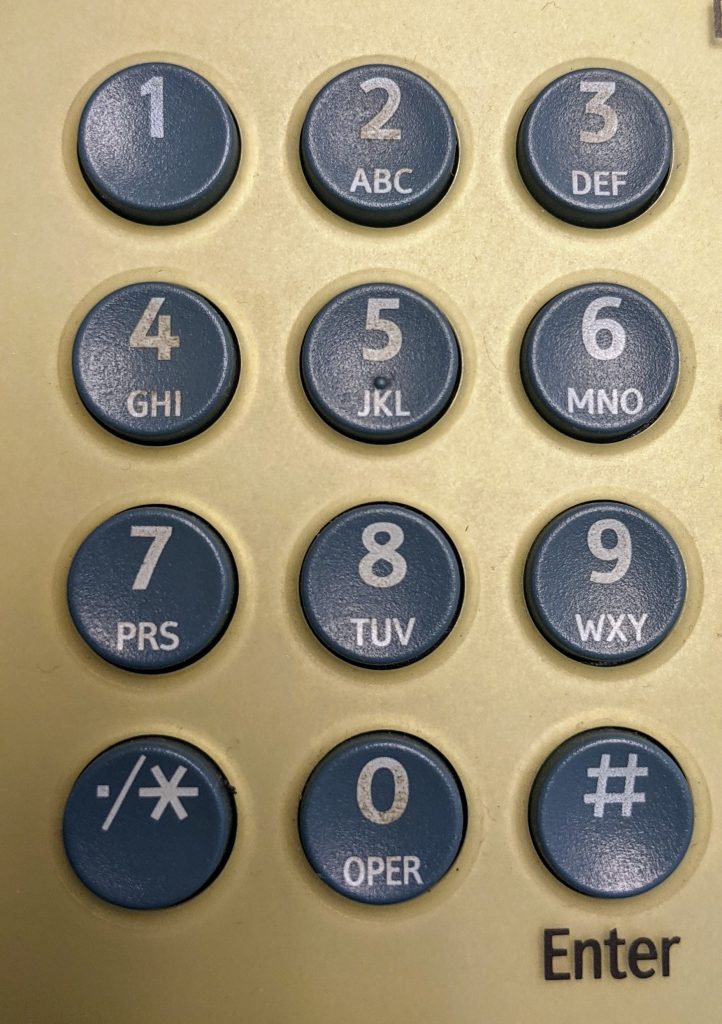
Step 2:
Type the Scanner code provided next to the printer to the code buttons . It is located on right hand side of printer. Then press OK button on the screen.
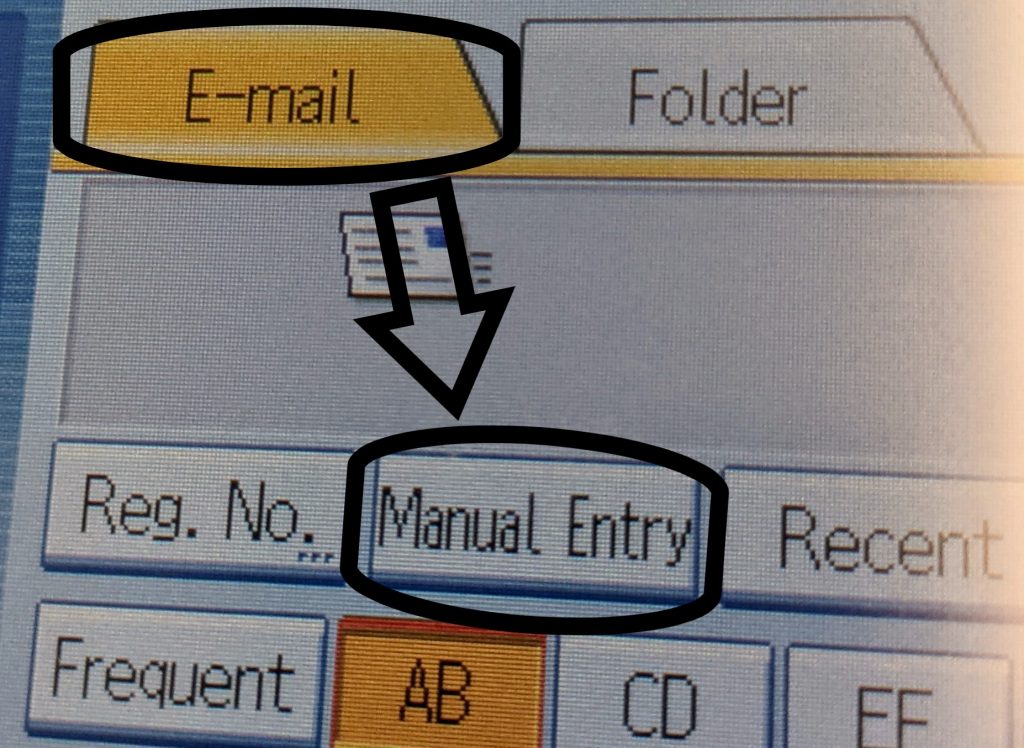
Step 3:
Select E-mail on the screen, then select Manual Entry as shown on the screen.
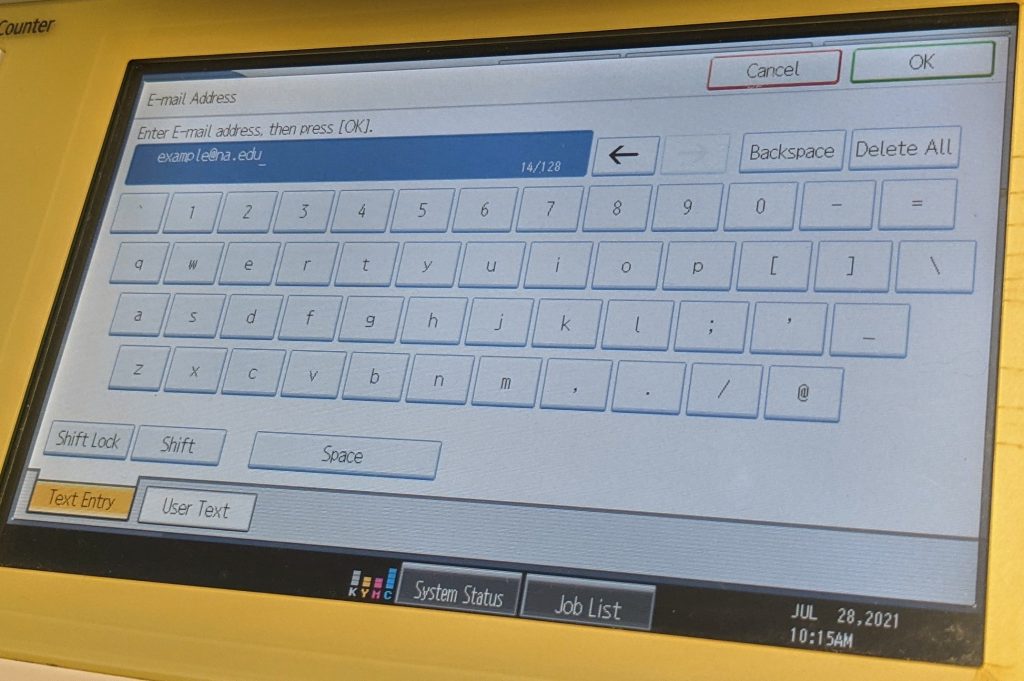
Step 4:
Enter your NAU email address to the screen, then press OK.
Step 5: Place your papers or documents to the scanner places.

Use top scanner for two or more papers to scan at once or for fast scanning.
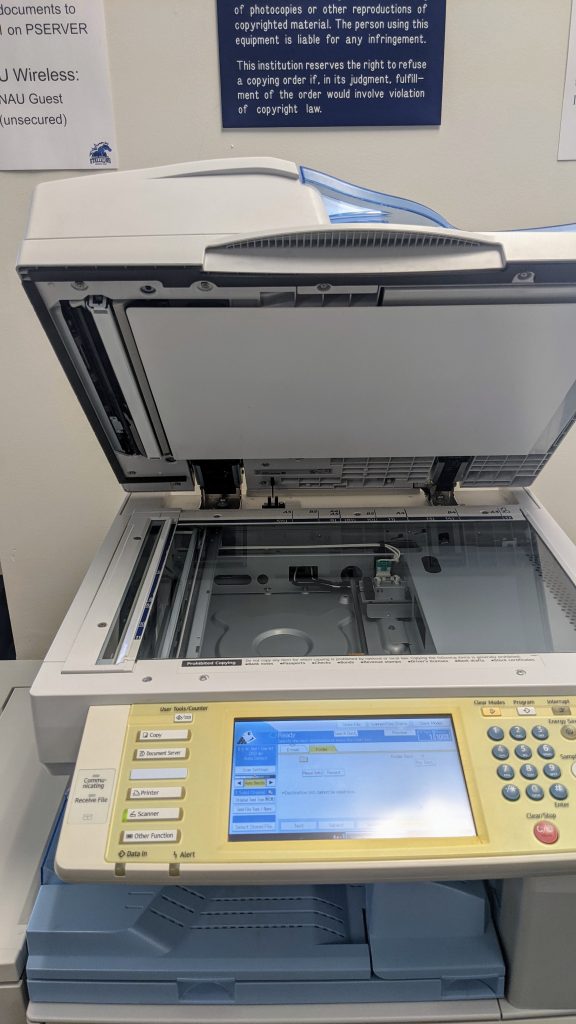
Use main door scanner for documents or single papers.
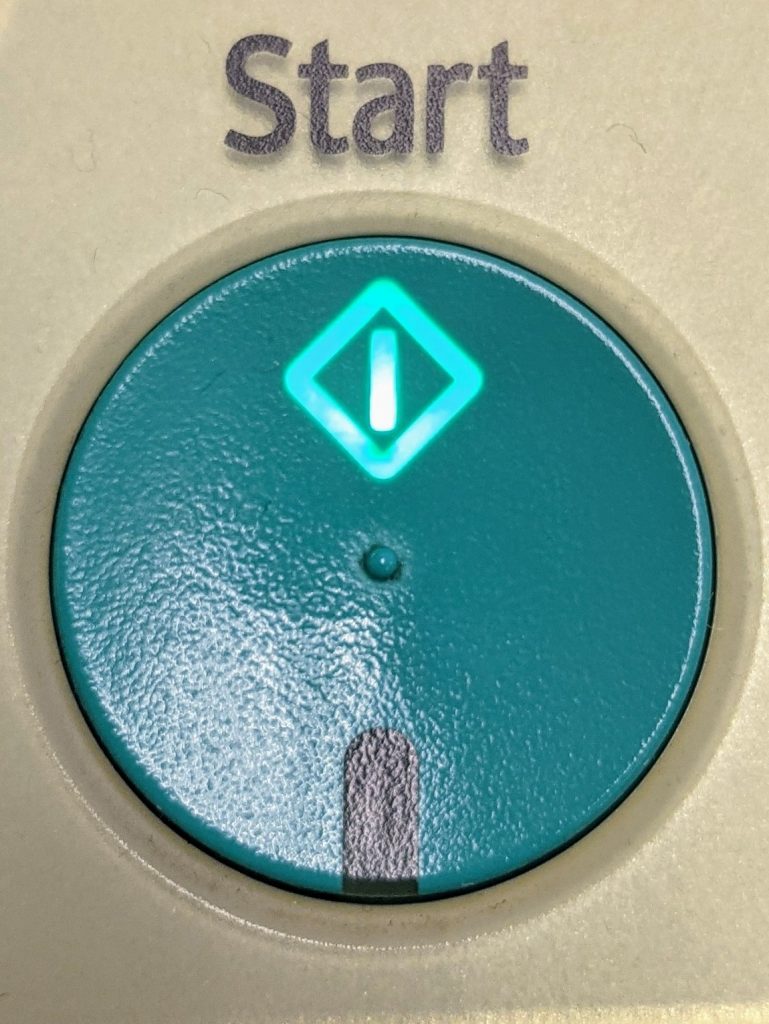
Step 6:
Press Start button